
The start of a new year is all about making resolutions — usually the same ones we’ve made many times before, like: eat healthier, workout more, save money, lose weight, build a wine cellar (oops, sorry, I think this last one might just be on my list!).
Anyway, given how common and costly data breaches have become these days, many of us should be adding a new promise to our list: make password management more secure, but in a way that’s fast and easy. Thankfully, Devolutions Password Hub can make this resolution come true!
It’s all thanks to the built-in role-based access control, which secures access to entries and passwords, and at the same time makes controlling permissions simpler through a powerful and flexible user management system. In geek speak, it’s like fixing two big bugs with one elegant line of code!
Overview of Roles
Devolutions Password Hub supports 5 types of roles, giving you granular control over restrictions and permission — and ultimately determining what users/groups can see and do. These roles are:
-
Readers: Users can only read the content of the vault.
-
Operators: Users can view and use session entries to connect with Devolutions Launcher, or view and use website entries to connect with Devolutions Web Login.
-
Contributors: Users can add, edit, delete or view the passwords for entries within the vault.
-
Managers: Users have all of the permissions available to Readers, Operators and Contributors, plus they can access all reports and grant access to other users/groups.
-
Custom: If none of the built-in roles meet the specific needs of your organization, then you can create your own custom role. Simply add a user to the custom role, then press the edit wheel icon to manually establish permissions.
Creating Your Vaults
Before you assign roles to users/groups, you need to create your vaults (think of these as the containers that divide your data source into multiple compartments). The process is fast and easy. Here is what to do:
- Launch Devolutions Password Hub.
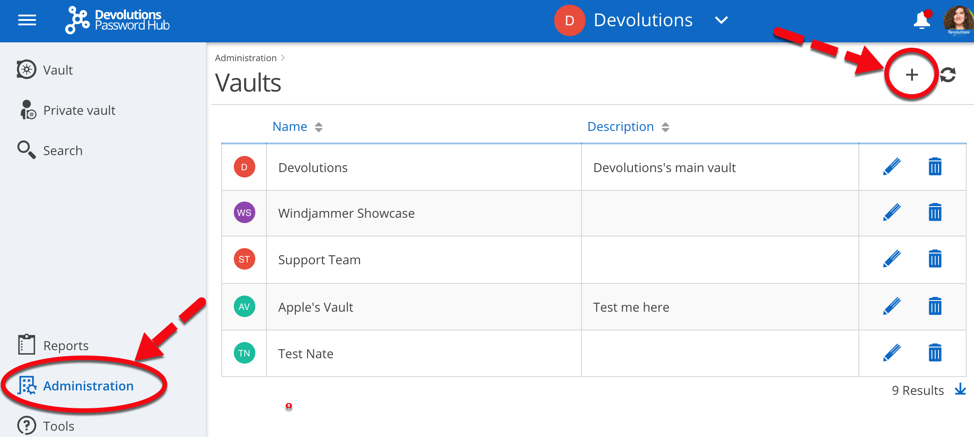
- Go to Administration – Vaults, and click on the + icon in the top right corner of the screen.
- Give your vault a name and fill in the necessary information.
Assign Users/Groups to Roles
Once you’ve created your vault, the next part of the process is to assign users/groups to roles. Follow these steps:
-
Go to Administration.
-
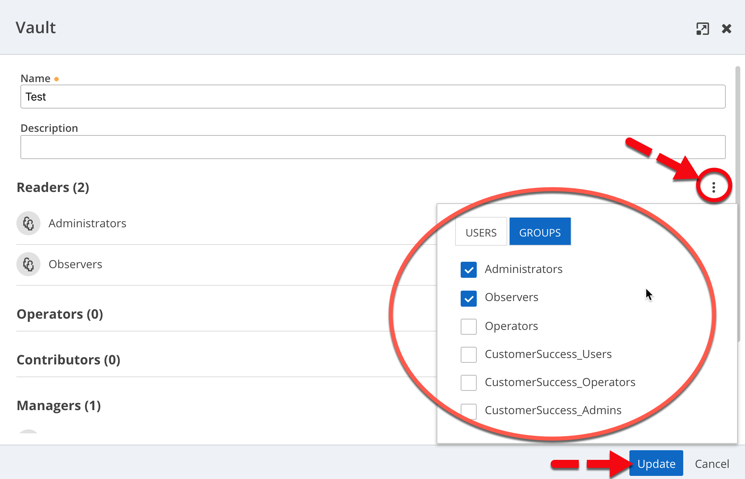
Click the edit button (pencil icon) of the vault.
-
Click the edit menu (3 vertical dots) of the role.
-
Check the boxes for each user that you want added to the role, or click Groups and then check the boxes for each group that you want added to the role.
-
Click Update to apply changes.
And that’s it! You can perform the same steps for all vaults and roles. And by the way, remember to always follow the principle of least privilege (POLP) — learn more in this article.
Now, if only Devolutions Password Hub could help me with that wine cellar…