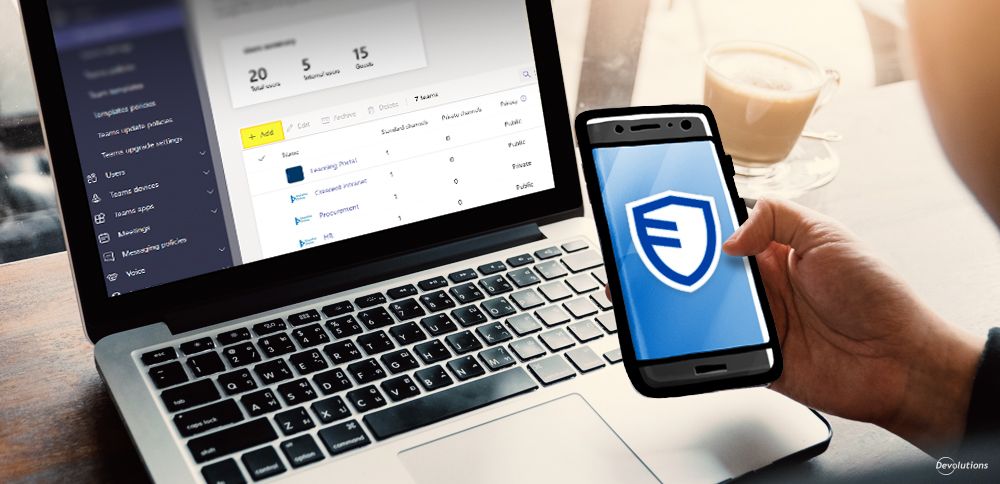

A few months ago, we published an article on how organizations can leverage the PAM module in Devolutions Server to secure a Primary Owner account in Slack. Many community members enjoyed the article and asked us to provide the same tutorial for Microsoft Teams. We heard you, and as we say around here: your wish is our command!
So today, please join me as we explore how to use Devolutions Server to secure an Administrator account in Microsoft Teams.
Getting Started
Since you can manage the Teams Administrator role using configurations defined in Entra ID (formerly Azure AD), it is rather easy to secure this role in Devolutions Server through the identity provider (see note below). All that is required is creating an account assigned to the Teams Administrator role, and then making the account available to users through the PAM module. After doing that, you can impose the desired check-in conditions, and even configure automatic password rotation after each use.
Before we dive into the steps in this process, please note: we will not cover how to configure an identity provider for the Entra ID tenant, since this should already be done. However, if you need to do this, then you can find the instructions here: Create an Azure AD PAM provider - Devolutions.
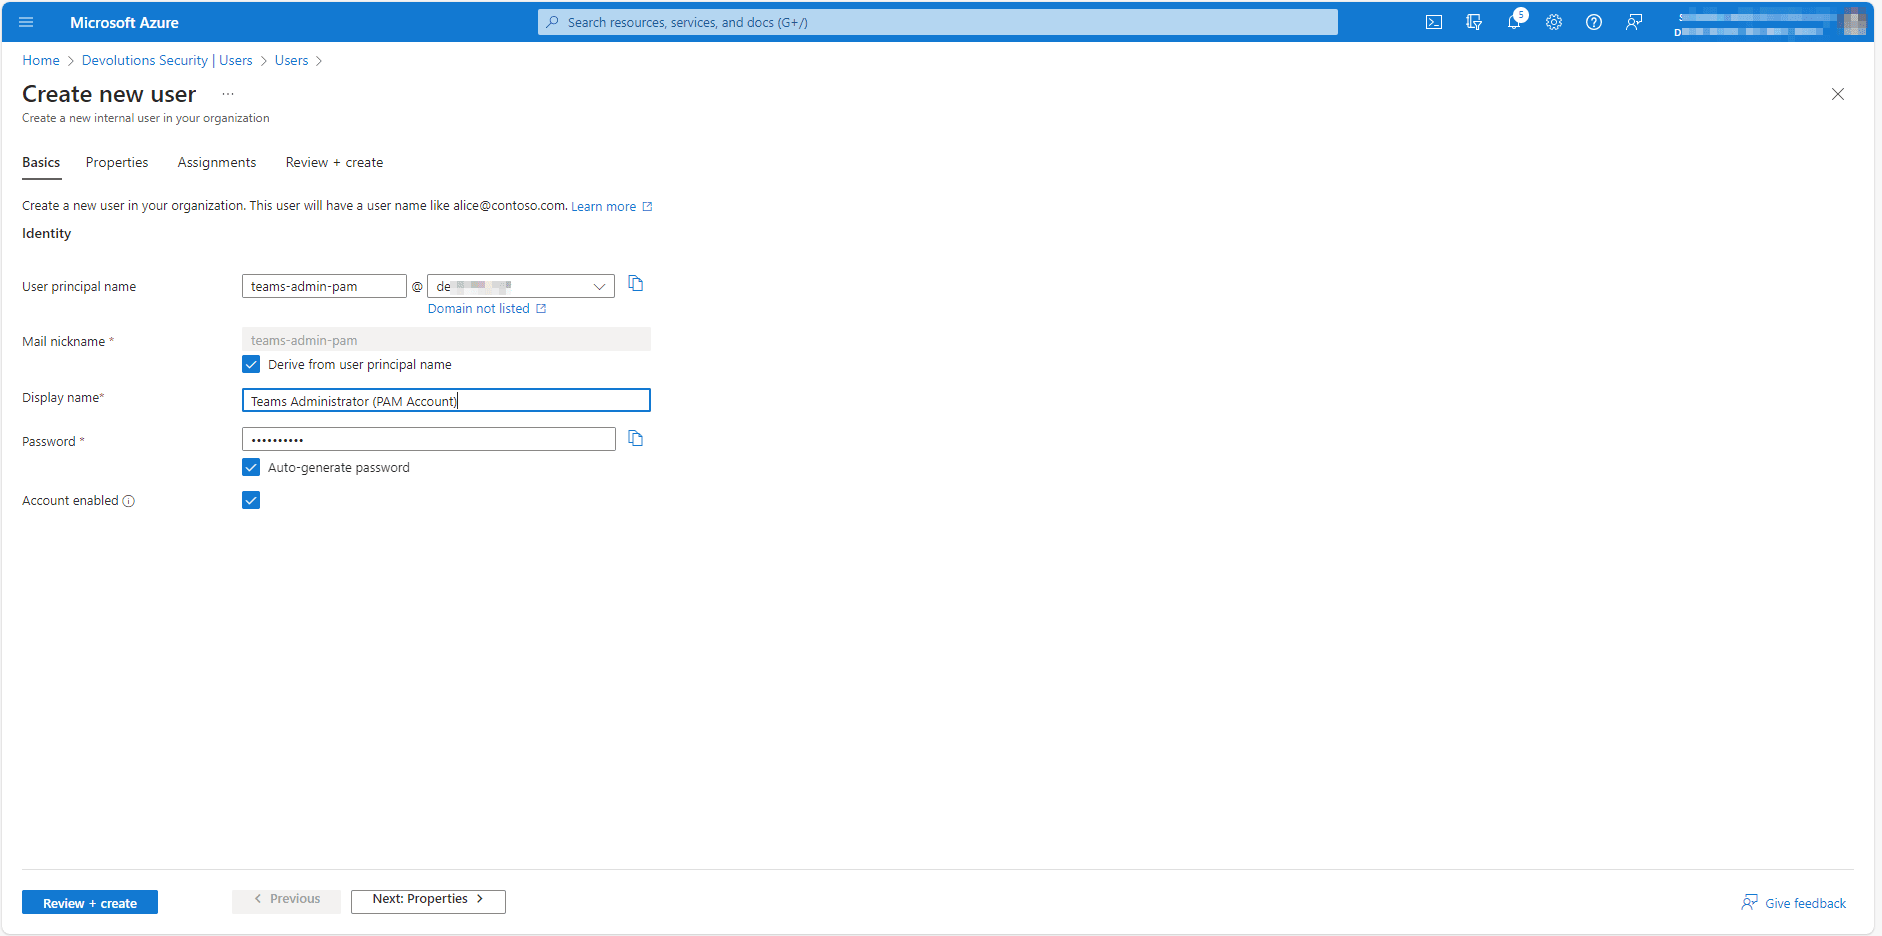
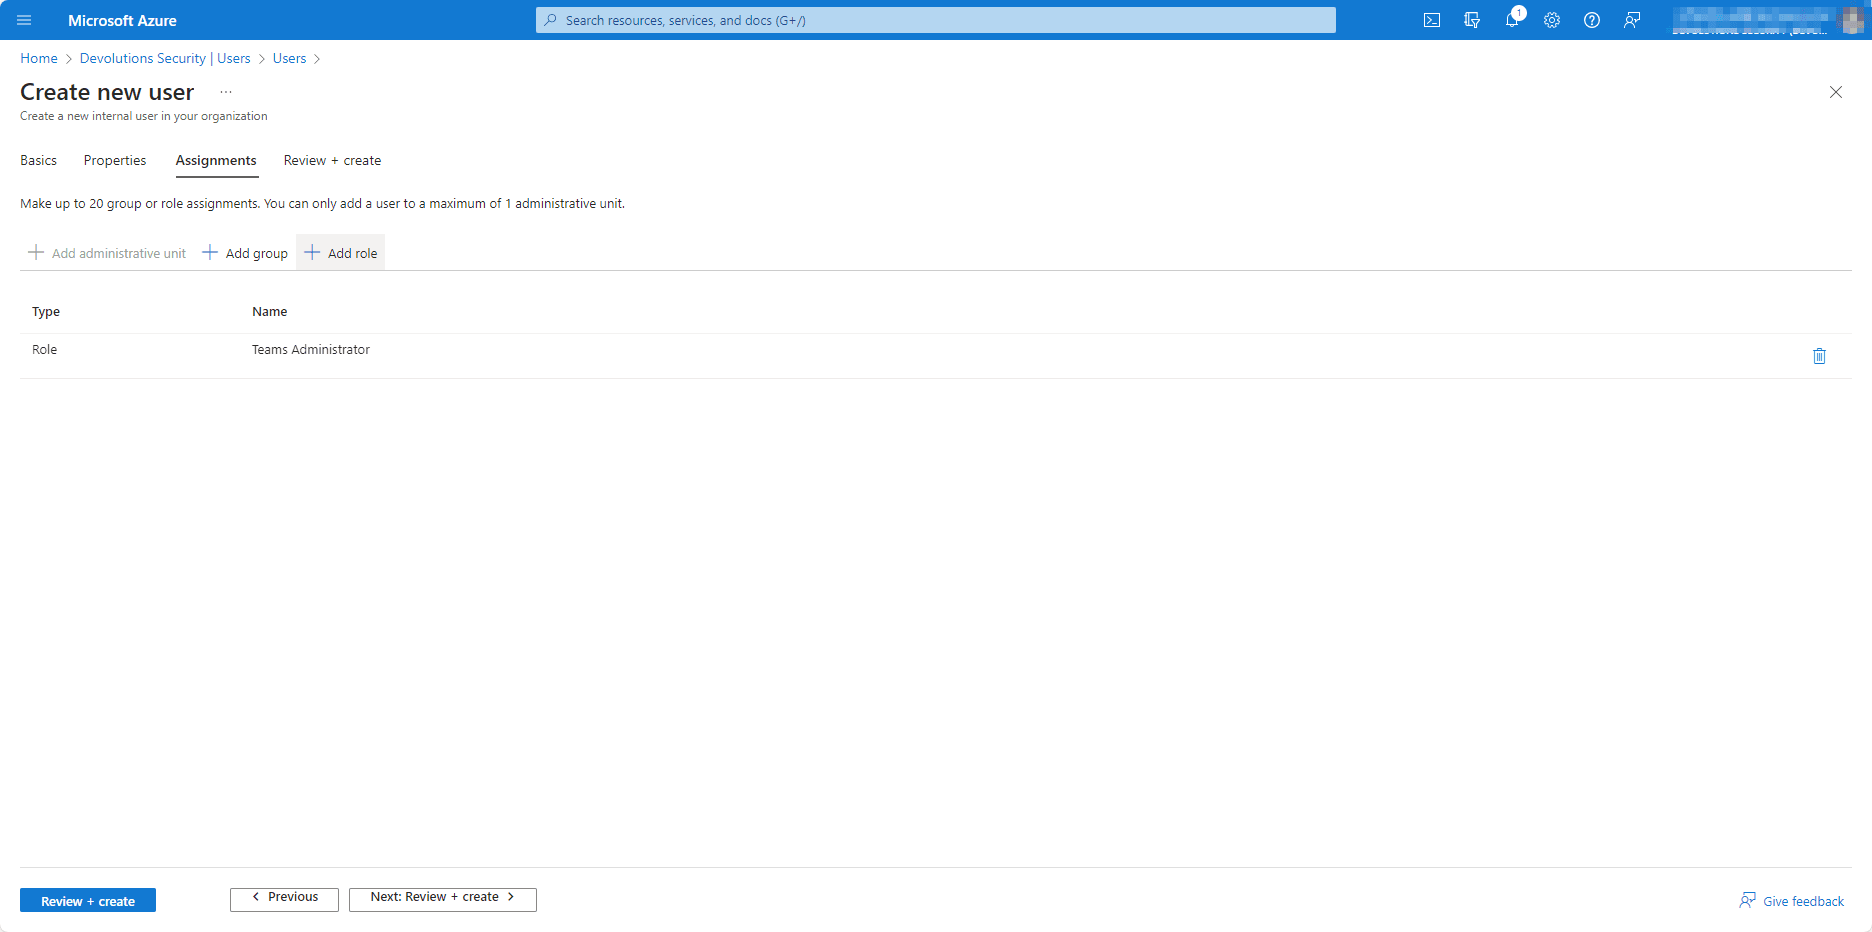
Step 1: Create an Account Dedicated to Administrating Microsoft Teams
To begin, create an account assigned to the Teams Administrator role in Entra ID (which as mentioned will enable you later on to manage the role and make it accessible from Devolutions Server). It is important to choose a username that clearly and concisely defines the purpose of the account. Also take note of the temporary password created for this account, as you will need it in a moment.
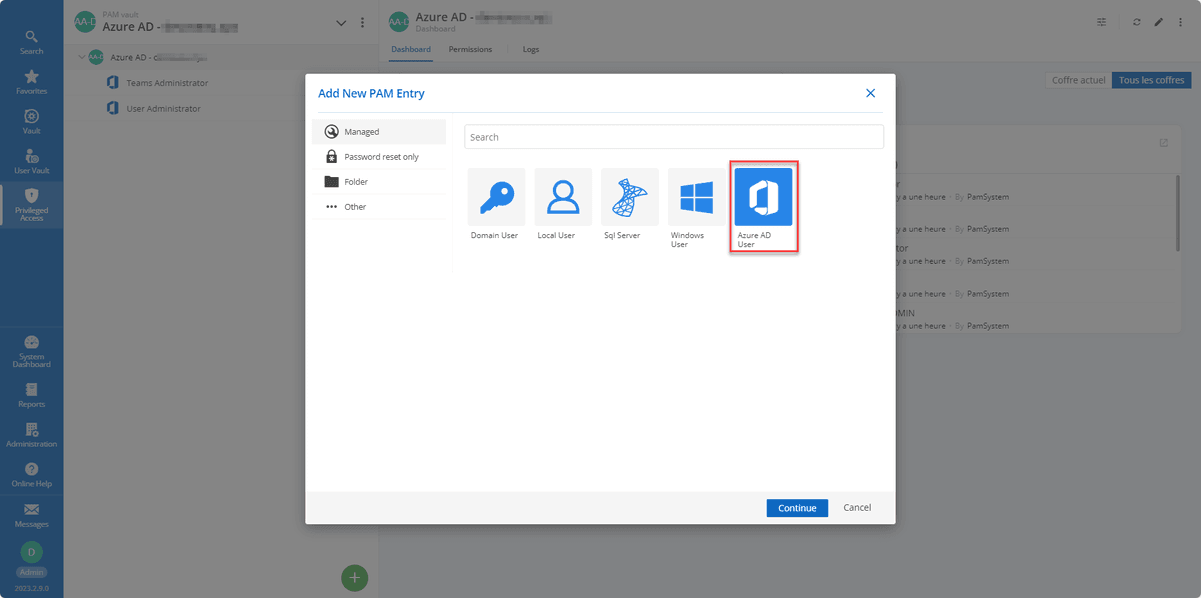
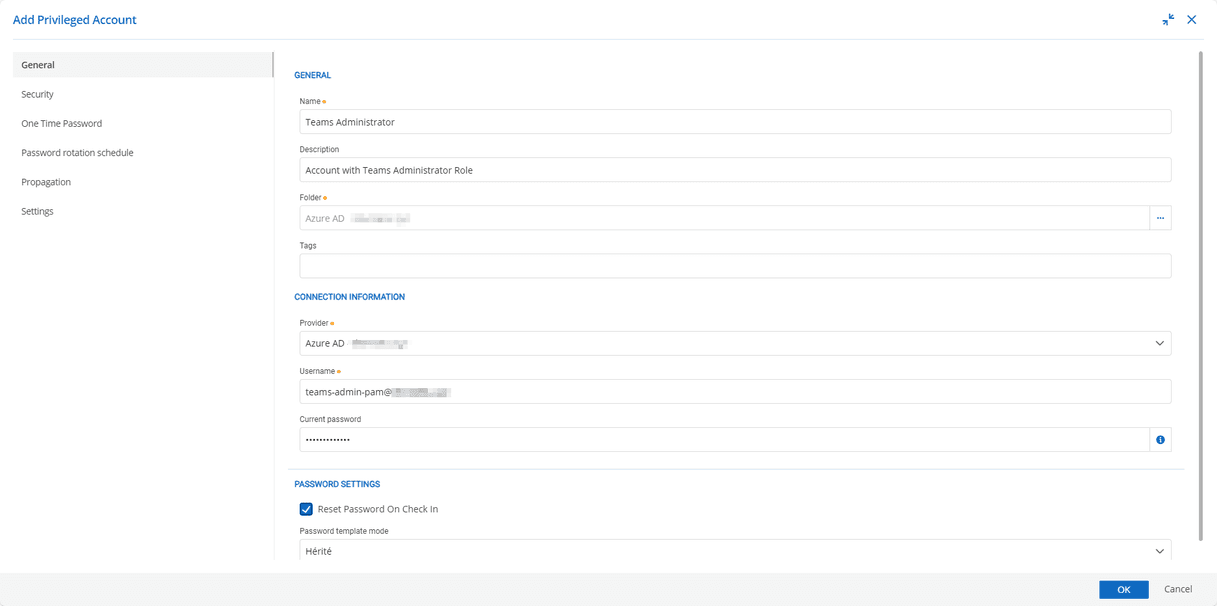
Step 2: Configure the New Account in Devolutions Server
To configure the new account in Devolutions Server, you simply need to specify:
- A display name
- An identity provider (as mentioned this should already be configured)
- The username per this format:
user@domain.com - The temporary password (created in the first step)
- The option to reset the password upon check-in
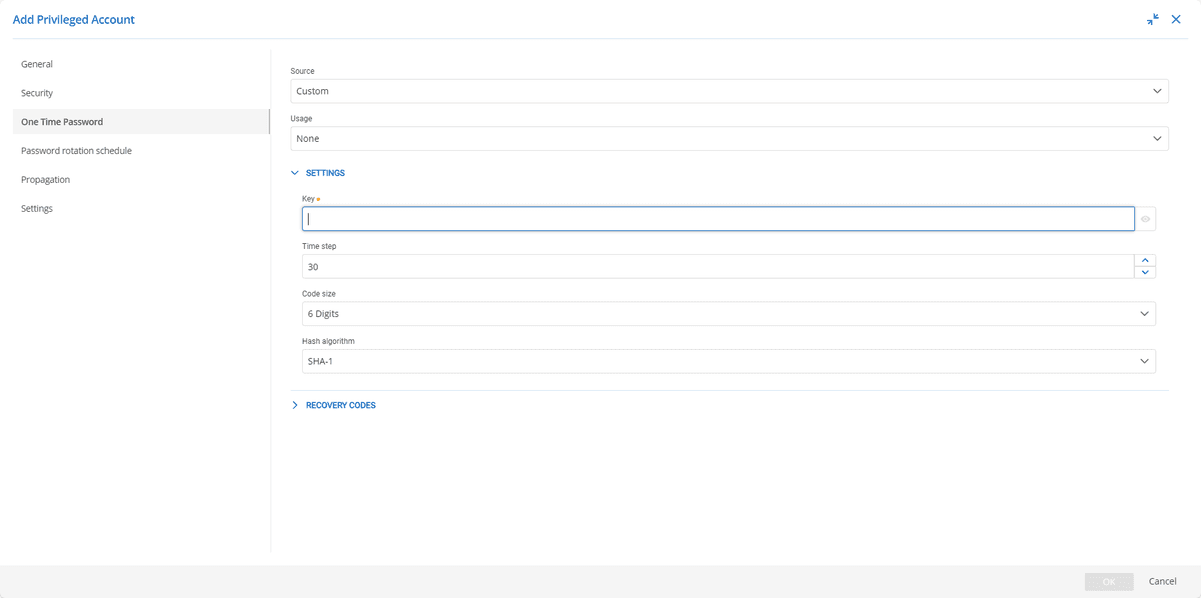
At this stage, it is a good idea to configure a secondary authentication factor for the account. It is possible to store this factor in the vault simultaneously with the rest of the account information (i.e., Devolutions Server will provide a single-use token to the user at the same time as the password)
To complete the configuration, select the “Check Synchronization Status” button.
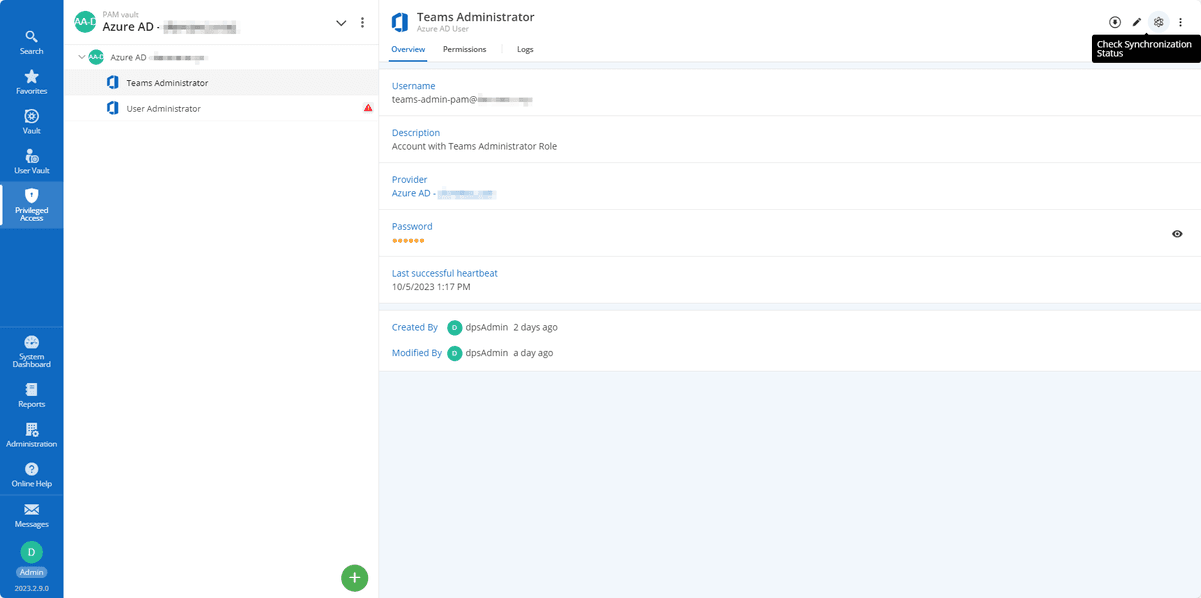
The password for this account can now be reset.
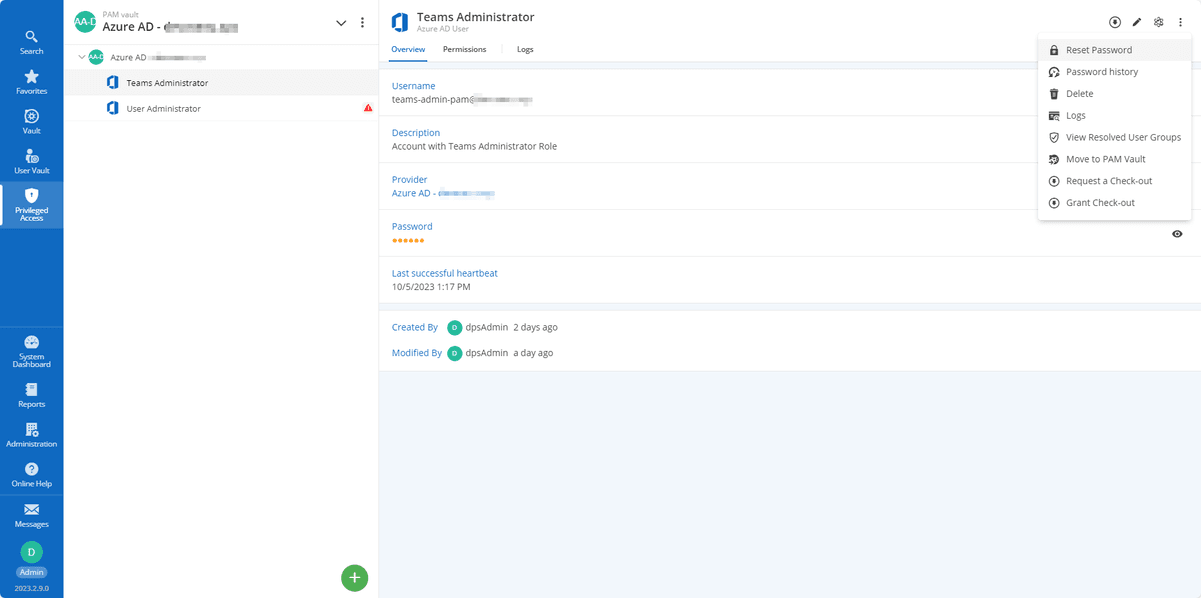
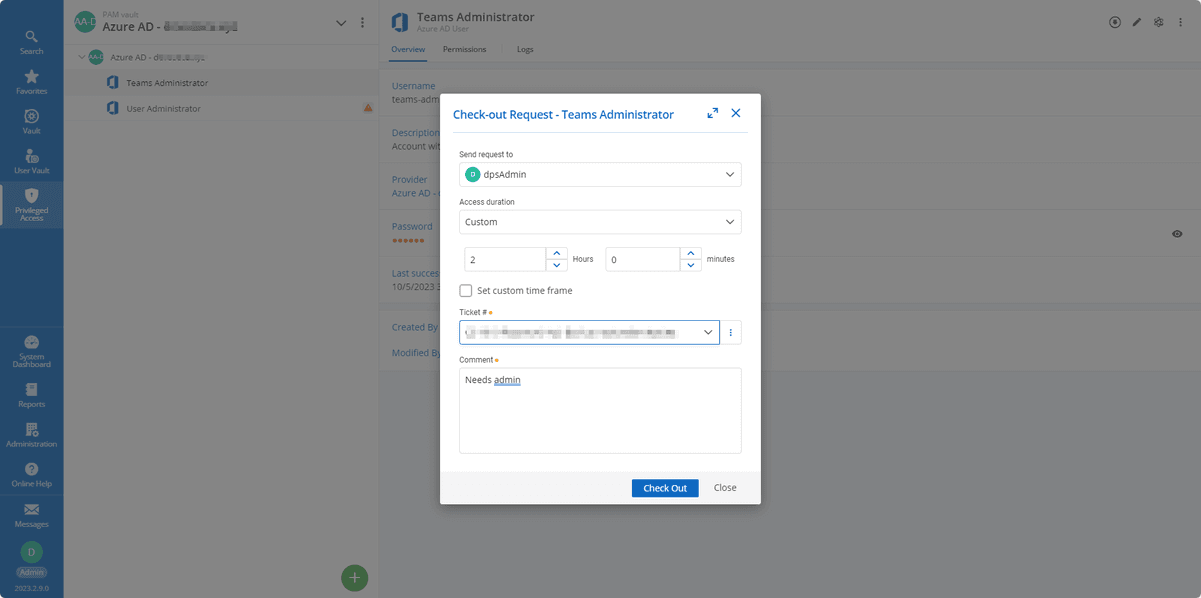
Step 3: Check Out and Use the New Account from Devolutions Server
Users with access to the vault can now check out the account per approval requirements, and for a maximum duration (as defined by the vault’s check-out policy).
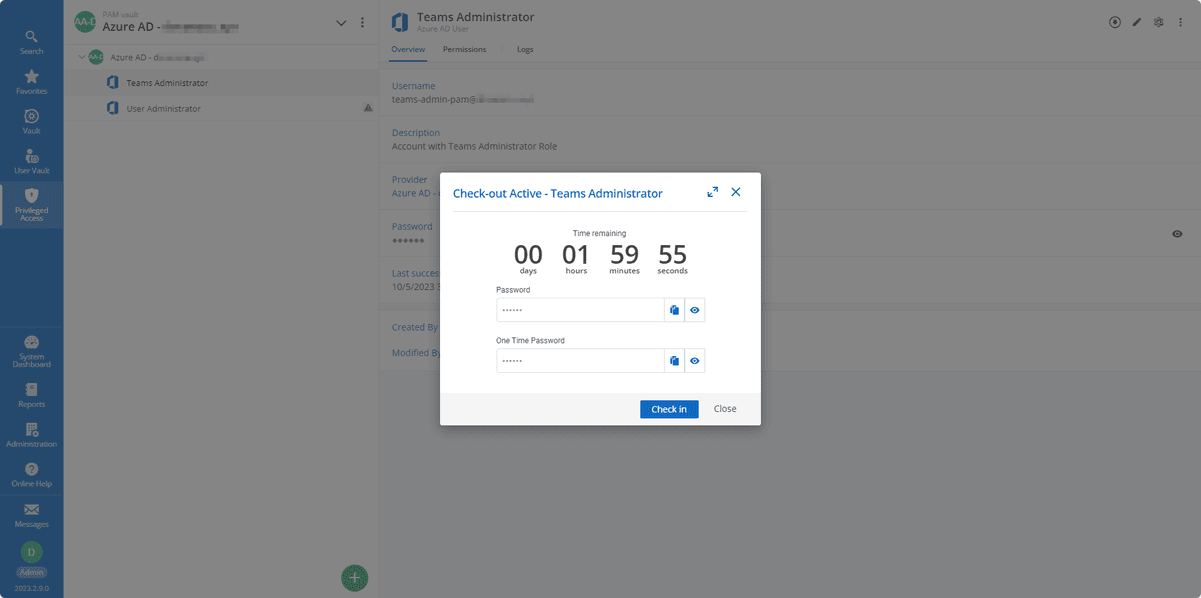
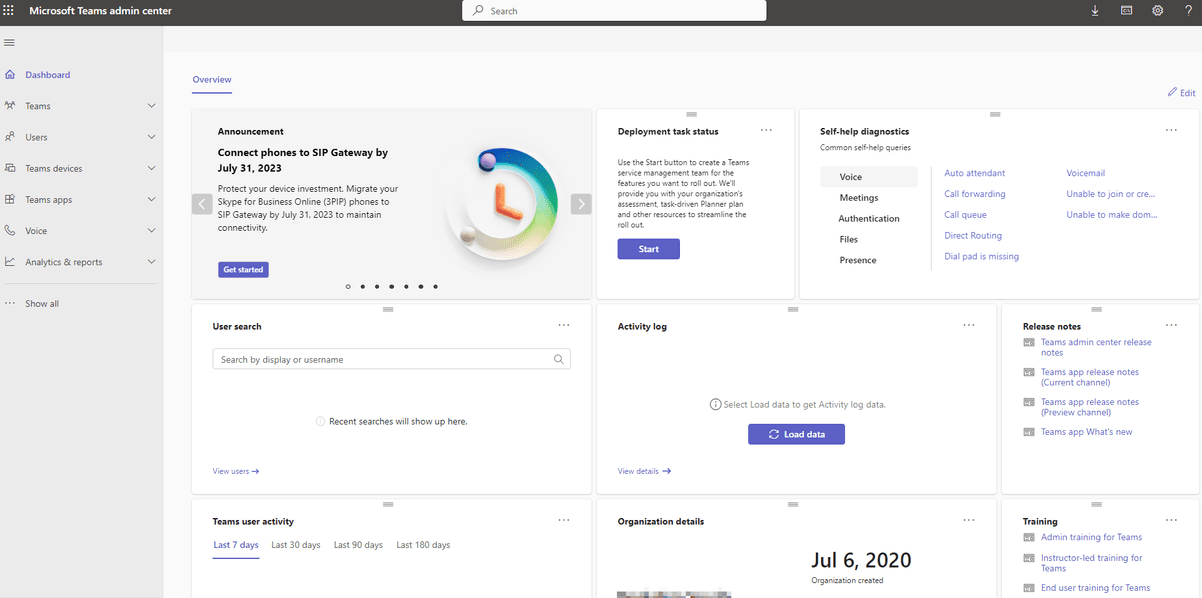
Users can then use their credentials during the authorized check-out period and connect to the dashboard in Microsoft Teams.
Conclusion
As as you can see, it’s easy to render an account more secure by assigning it a privileged role, like the Teams Administrator. What’s more, Entra ID (which is available in Devolutions Server) allows other roles in the cloud directory to be managed in the same way. For example, it’s possible to repeat the procedure for roles like the Global Administrator or User Administrator.
Share Your Feedback
We hope that you found this tutorial helpful and easy to follow. Please share your feedback by commenting below. We also invite you to let us know what other tutorials you want us to provide for Devolutions Server/PAM, as well as our other products. We are always listening to you!