Today, we are pleased to shine the spotlight on Psono, a solution that has many fans around the world.
What Is Psono?
Psono is an open source SaaS and on-premise enterprise password management solution that helps to solve the privileged access problem. It enables employees to create, store, and share private and sensitive data, and it safeguards the data with cryptographic security. Psono also helps ensure that companies stay compliant with regulations and standards (e.g., SOX, HIPAA, and PCI-DSS).
Psono offers a wide range of security and UX features, including central storage, secure sharing, RBAC, LDAP integration, 2FA, SSO, multiple devices and cross-platform compatibility (Windows, MacOS, Linux, iOS, Android, and various browsers), security reports, audit logs, and support for high available setups (uninterrupted access to passwords).
While all of these features are impressive, the thing about Psono that many IT pros like best is its scalability. Unlike many other open-source password managers, Psono easily and securely scales across teams and servers.
Psono is available in four editions:
- Community Edition: Free and open-source with 51 or more users
- Enterprise Edition Limited: Free enterprise version for small teams up to 10 users with all functions
- Enterprise Edition: On-premises and suitable for larger companies with a minimum of 25 users (priced per user and billed annually)
- SaaS Edition: Cloud-based and suitable for larger companies with a minimum of 25 users (priced per user and billed annually)
For current pricing information, please visit https://psono.com/enterprise-password-manager.
Integration with Remote Desktop Manager
We are also pleased to note that Psono is now integrated in the latest edition of Remote Desktop Manager. This enables users to securely and easily access all of their Psono entries and passwords directly from within Remote Desktop Manager.
Steps for Configuring Psono in Remote Desktop Manager
Step 1: Log in to your Psono account from your web browser.
Step 2: Click on your email address (beside “Signed in as” on the top-right of the screen).
Step 3: Select “Other” from the drop-down menu.

Step 4: Click “+ Create a new API Key.”

Step 5: Check the “Right to read” and “Right to write” boxes.
Step 6: Choose whether to check the “Secret Restriction?” box. Here is the difference:
- If you check the Secret Restriction? box, you will need to add a secret to every Psono folder.
- If you uncheck the Secret Restriction? box, you will be provided with an unlimited key that will grant access to all database secrets.
Note: Both options are supported in Remote Desktop Manager; it depends on the access level the admin is willing to provide. If you uncheck the secret restriction box, it’s easier to manage but less secure than if you add a secret to every Psono folder. It’s really up to the user.

Step 7: Edit the API key.
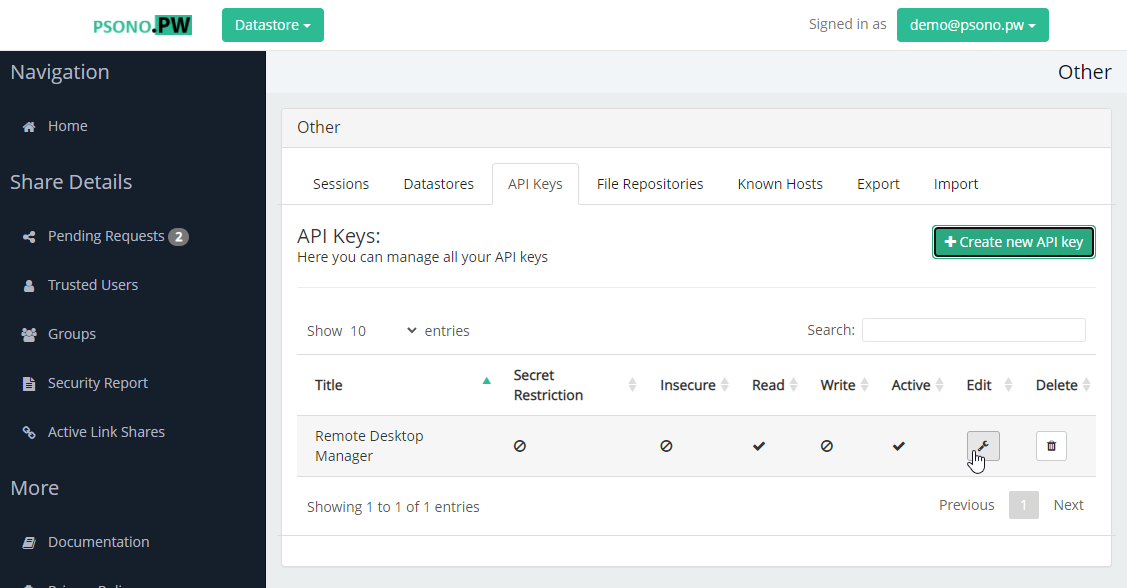
Step 8: Copy the details (these will be needed for the entry in Remote Desktop Manager).
- API_KEY_ID
- API_KEY_PRIVATE_KEY
- API_KEY_SECRET_KEY
- SERVER_PUBLIC_KEY
- SERVER_SIGNATURE

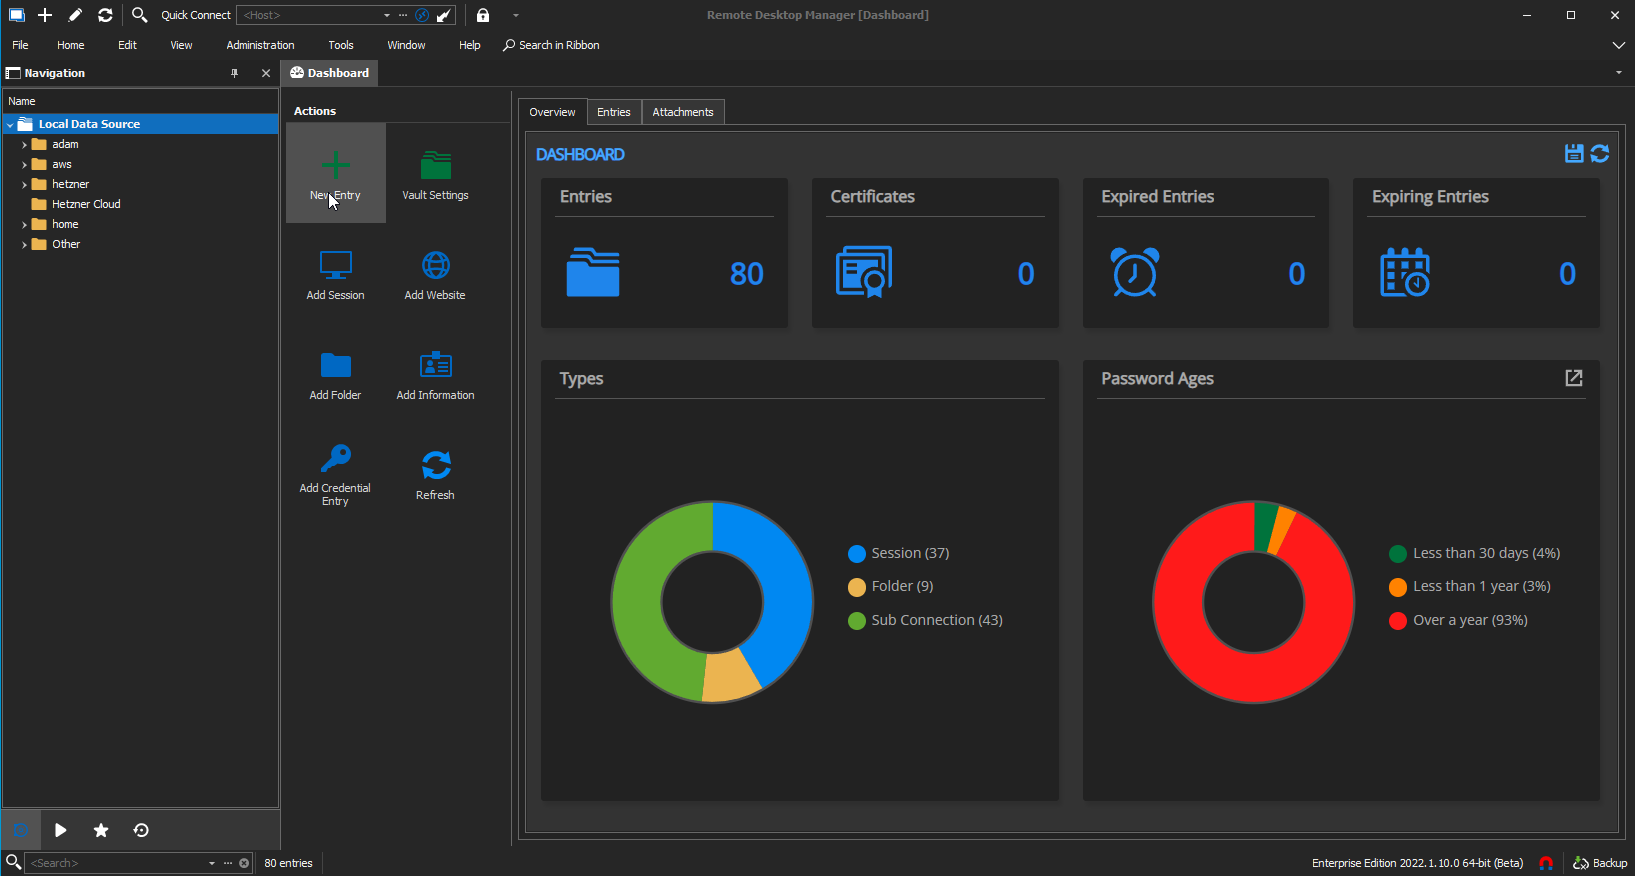
Step 9: Launch Remote Desktop Manager.
Step 10: Create a New Entry.
Step 11: Search “Psono.”
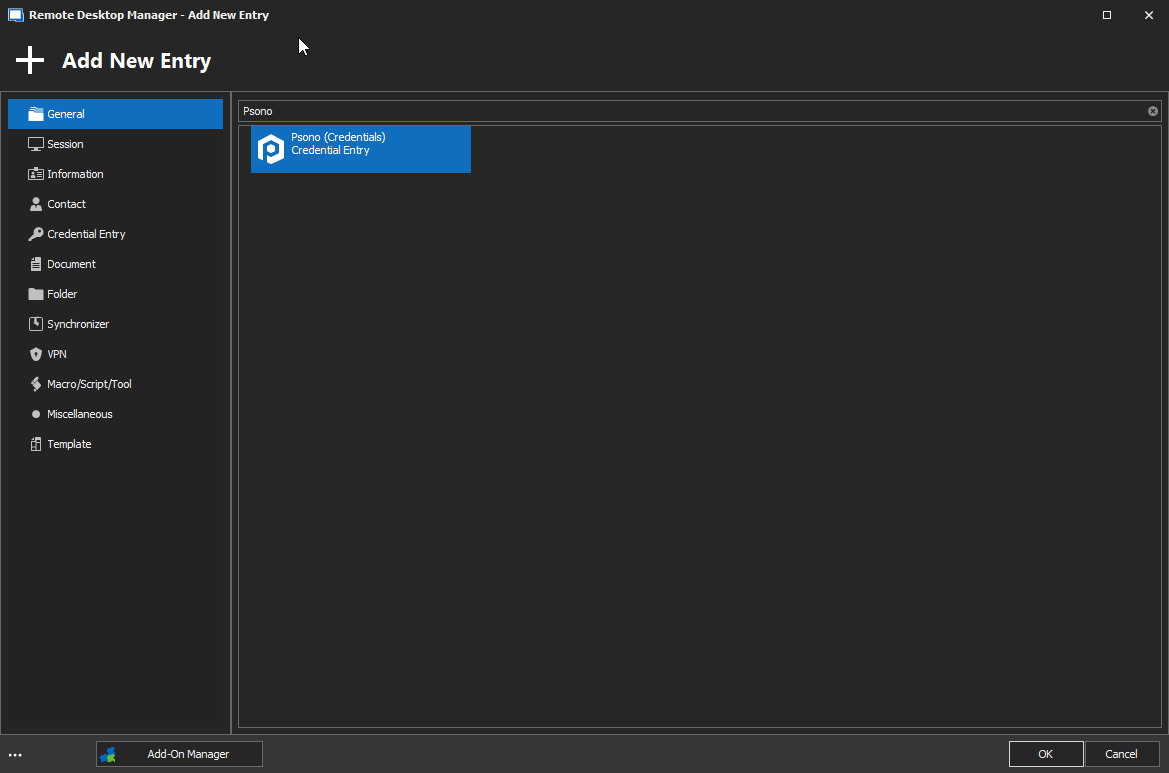
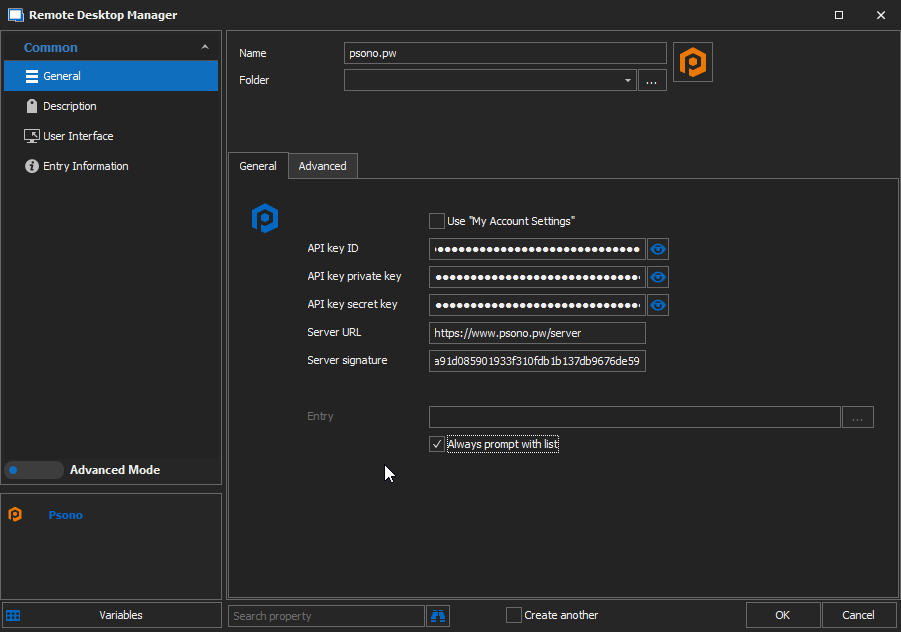
Step 12: Enter the API key details (from Step 8).
Step 13: Check “Always prompt with list.”
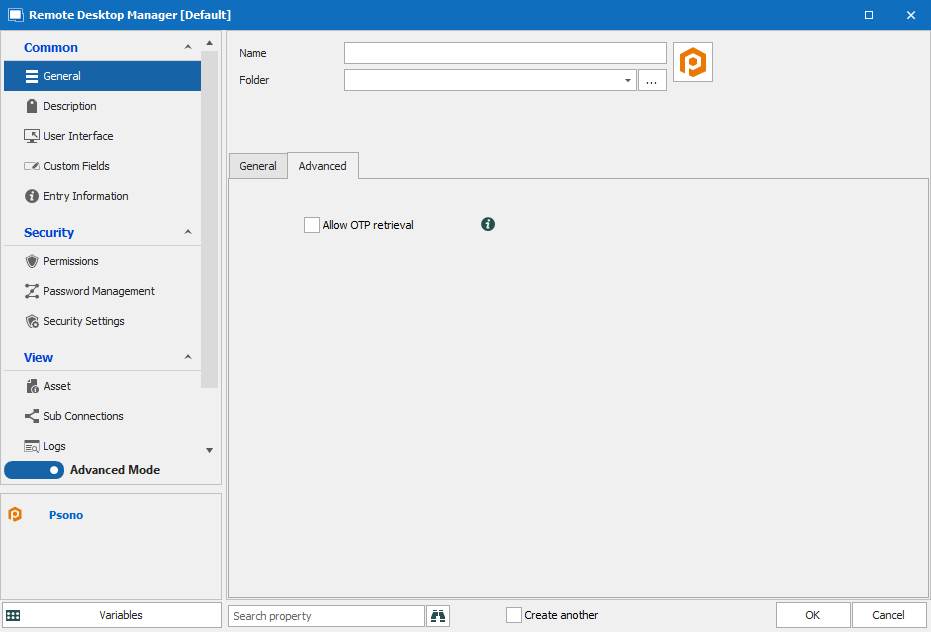
Step 14: (OPTIONAL) If you wish to use OTP, click Advanced Settings and select “Allow OTP retrieval.”
And that’s all there is to it! You can now create or edit an entry (e.g., SSH or RDP), configure the linked vault, and select the one that was just created through the steps above. After that, you can simply click "Select from List" to choose the actual entry.
If you require additional support, please consult this walk-through which includes screenshots.
Free Demo
A free online demo of Psono is also available: https://www.psono.pw.